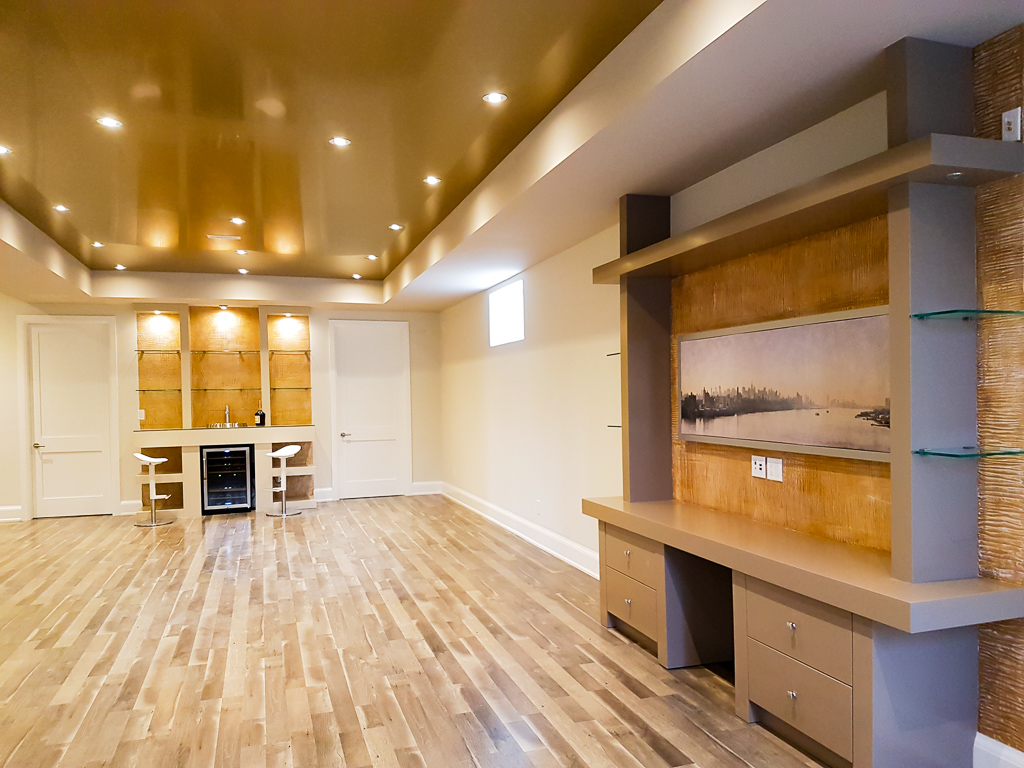
When you dive into basement renovation and decide to finish your basement it can seem overwhelming and daunting. In this article, we will break down the 9 steps needed to answer your question “how do I finish my basement?” and turn your unfinished basement into a beautiful new space.
Basement finishing can be completed as a Do-it-yourself project but is typically left best to professional renovation contractors. A contractor will help you every step of the way, aid in keeping on a time schedule, help with your basement design and budget. The budget helps to determine the specific cost to finish your basement.
Follow These 9 Steps and You Will Have the Basement of Your Dreams in No Time.

Step 1: Clean Your Basement
Remove any and all clutter from your basement to prepare for the basement finishing. You may consider hiring professional cleaners for this first step, but it is not necessary. A clean basement includes clean floors(sweeping, mopping, waxing, or carpet cleaning), dusting, window washing if needed, and the removal of any unwanted furniture or clutter.

Step 2: Moisture Test Your Basement
A comfortable moisture level is between 30 and 50 percent. The process of testing your basement for the moisture is more simple than you would expect. Simply tape a piece of plastic or tin foil onto your basement floor. Be sure to seal around the edges and then leave it for several days. If you get moisture on the exposed surface of the tin foil or plastic, then the problem is condensation.

Step 3: Research Local Basement Finishing Bylaws and Permits
You will want to avoid being on the wrong side of the (by)law when it comes to home construction, basement finishing and home renovation. There are specific bylaws and necessary permits for areas throughout Ontario. Your contractor will be able to help you with this information if you choose to work without a contractor all of this information will be available to read online.
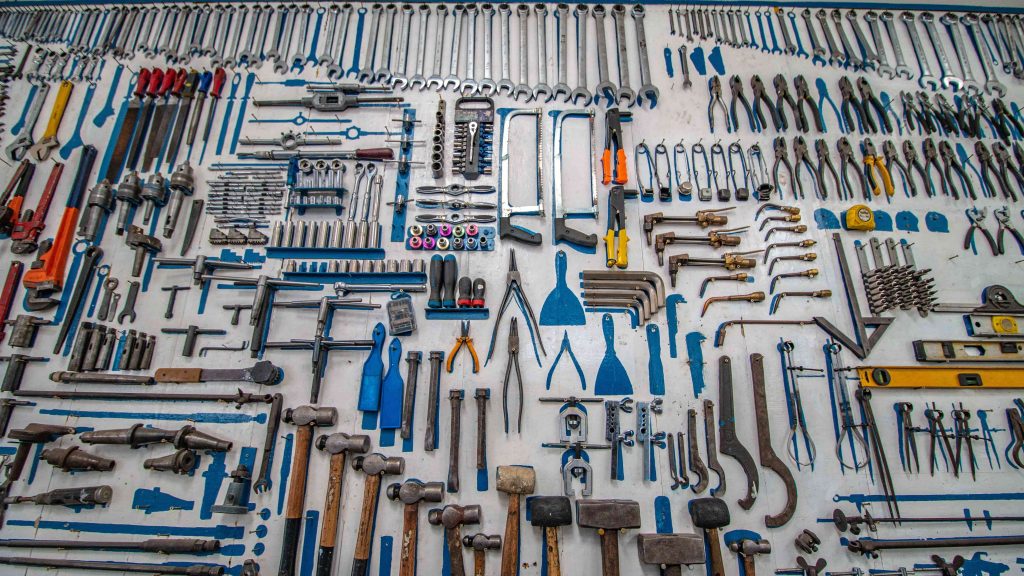
Step 4: Gather Basement Finishing Tools and Materials
You will need the right tools and materials to complete the job. Materials such as:
- Laser Level
- Measuring Tape
- Wood or Metal Studs
- Framing Square
- Speed Square
- Hammer
- Carpenter Pencils
- Safety Glasses
- Dust Mask
- Sill Gasket
- And More…
- Paint
- Primer
- Paintbrushes
- Cleaning Tools
- Cleaning Supplies
- Permits
- Power Saw
- Drill
- Power Miter
- Air Compressor
- Nail Gun

Step 5: Install Basement Insulation
To keep the cold air out and the warm air in you will want to install basement wall insulation.
According to the government of Canada, basements can account for about 20 percent of a home’s total heat loss. This is due to the large, uninsulated surface area both above and below grade level. Contrary to popular opinion, the earth is a poor insulator. There is also a lot of air leakage through basement windows and penetrations (including cracks in these areas) and at the top of the foundation wall (sill area). They go on to state that many basements have little or no insulation, so this means there is much potential for improvement. Insulating can often be tied in with other repairs or renovation work such as waterproofing, radon remediation or finishing the basement.
To begin step 5 ( how to insulate basement walls) you will need to begin step 6 (basement framing)
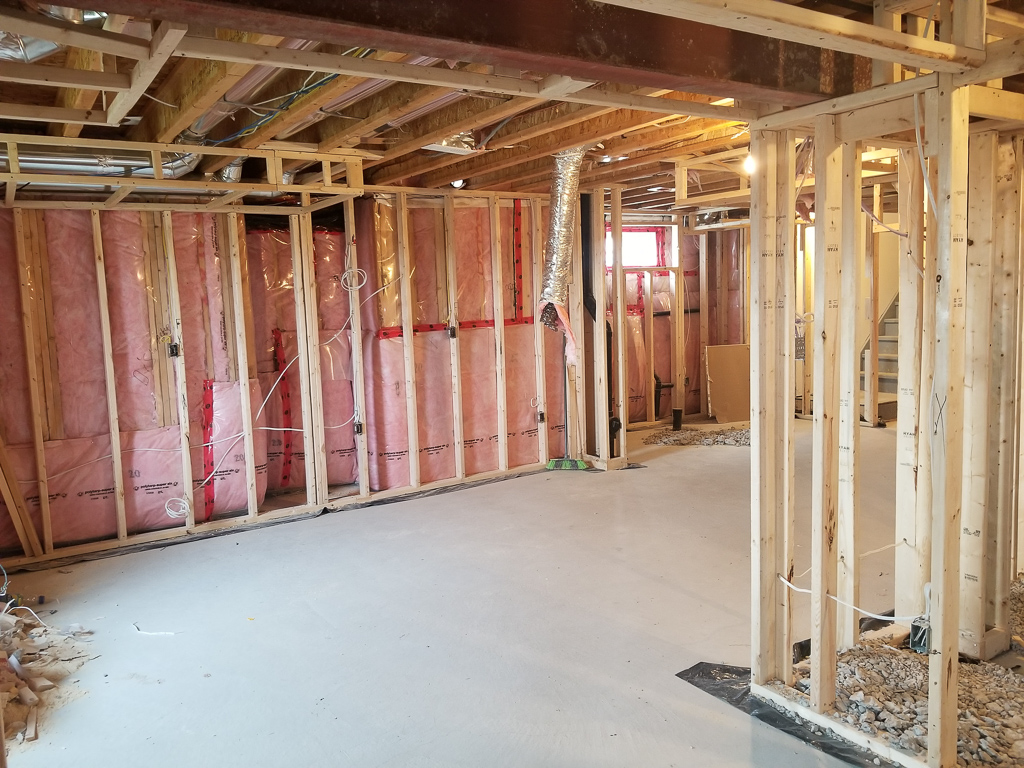
Step 6: Frame basement walls
If you do not know how to frame a basement, I assure you that it is simple. Start by building a standard wall frame by using studs around your basement and place them against the bare concrete wall. Be sure to pace your studs either 16” or 24” apart only. This process will allow you to cut your foam material to fit comfortably between them.
Make sure to also cover the band joints to assure heat does not escape from there.
Once the studs are up and the insulation has been stuffed in place, add a vapour and seal and move on to the next step.

Step 7: Install drywall
This is best left to a professional, however, by installing ‘spacers’, and covering all outlets and windows prior to application so you can assure that your drywall is best installed if you choose the DIY route. Apply the drywall to the basement wall panels.

Step 8: Basement flooring installation
There are many options in terms of materials to install the flooring in a basement. When choosing a material for basement floor installation steer clear of woods or natural materials that may warp due to moisture. You can’t go wrong with ceramic tile which can be directly installed on top of concrete or a glue-down vinyl tile.
If you want a more slated look you may opt to use a self-levelling concrete to ensure an even surface.
There are a multitude of Youtube tutorials for this, however a professional will guarantee a job well done.
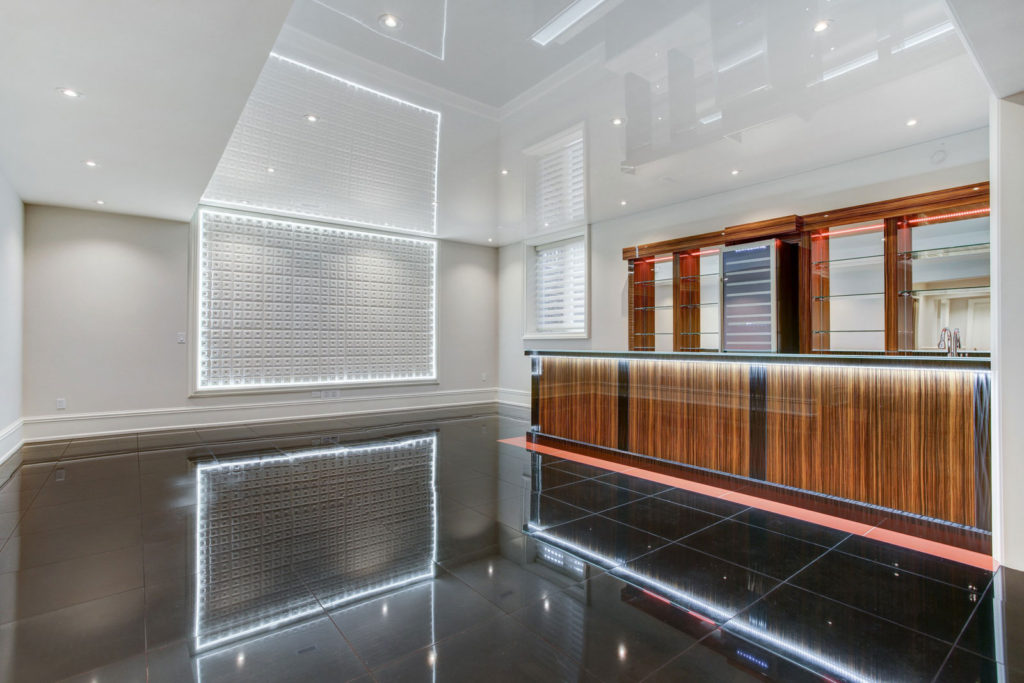
Step 9: Basement ceiling installation
The majority of homeowners opt for a higher ceiling when finishing a basement. Attaching a material directly to the beams in the ceiling of the basement will save you time and money. There are a few options of materials to choose from for this:
- Beadboard.
- Corrugated Metal.
- Drywall.
- Painted Exposed Beams and Pipes.
- Wooden Panels
- Wooden Planks.
- PVC Tiles.
These materials are easy to source at any hardware store and easy to apply to the beams.
Follow these simple 9 steps in this guide and you will have a freshly finished basement in no time. Consultation by a professional is recommended even if it just for an estimate of the costs.
